
If you’re familiar with WordPress, you’ll know that WordPress has a built in Menu builder. However, as MoxiWorks is utilizing a modified version of WordPress, making your menu works a bit different. When you’re in the admin screen, click on Site Pages on the left menu. This will bring you to a list of all of your pages:
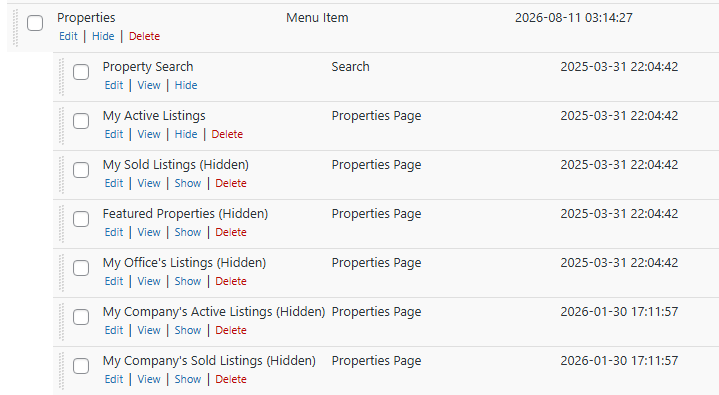
There are a few options under most pages: Edit, View, Hide/Show, and Delete. The names are pretty self explanatory for what they do. The way your menu works is it displays the menu items in order of the pages going from top to bottom.
When you hover your mouse over the page, you will see your mouse cursor turn into four arrows going in all directions. When this happens, you can move that page to a new position, and therefore the new position in the order of the menu.
Creating Sub-Menus #
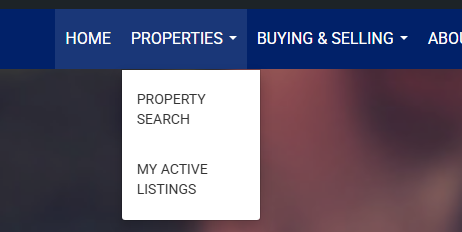
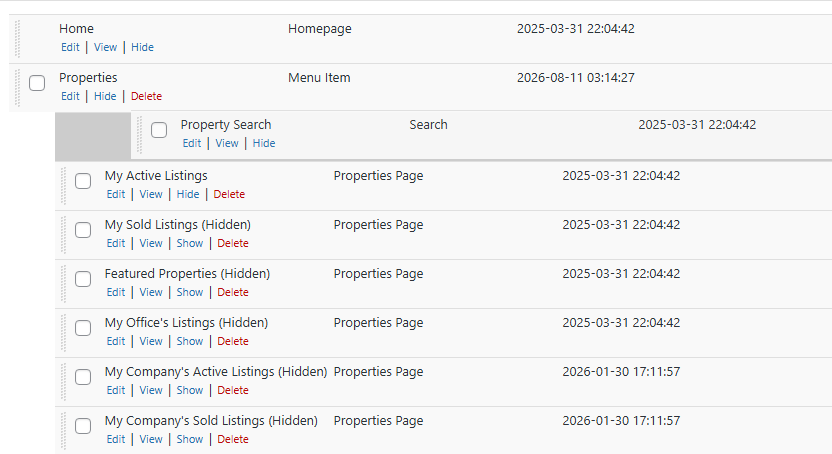
You may need to create a sub menu, for example you may have a Menu Item that says Communities and that will display the community pages that you have. If you drag a page under another page and slightly to the right, you will see a grey square highlight where it will add the page, as seen below:
Adding Menu Items #
Menu Items are non pages that are added to the menu that don’t link to a page, but are used for creating a sub menu. Using the example from above, the Communities tab would be the menu item as you wouldn’t need to make a whole page just for Communities.
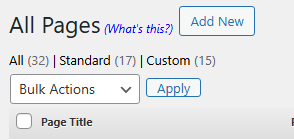
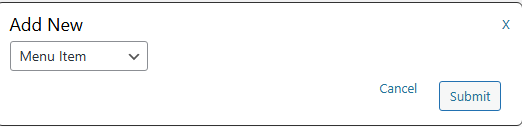
To add a new Menu Item, click the Add New button on the top left, this will bring up a popup menu. In the dropdown box, select Menu Item and click Submit. You will be shown a text field where you can put in the menu item.
Adding Outside Links #
There may come a time where you want add a link on your menu that links outside of your site, i.e. a home valuation page, social media, etc.
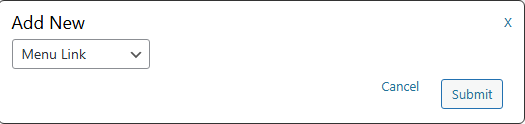
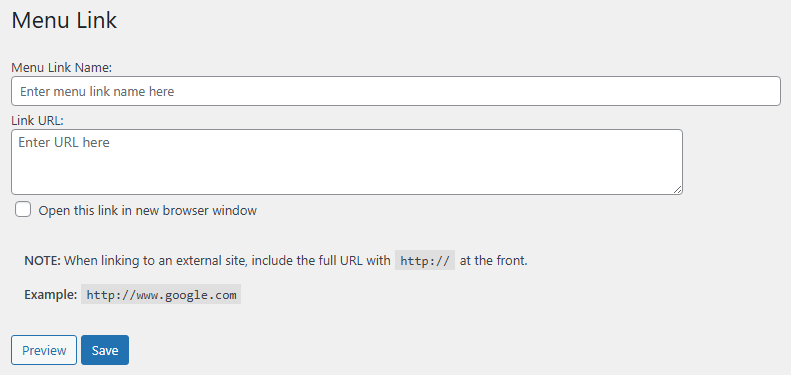
Click Add New on the top left and select Menu Link from the drop down box. You will be brought to a form that you can fill out to add the link.


Leave a Reply